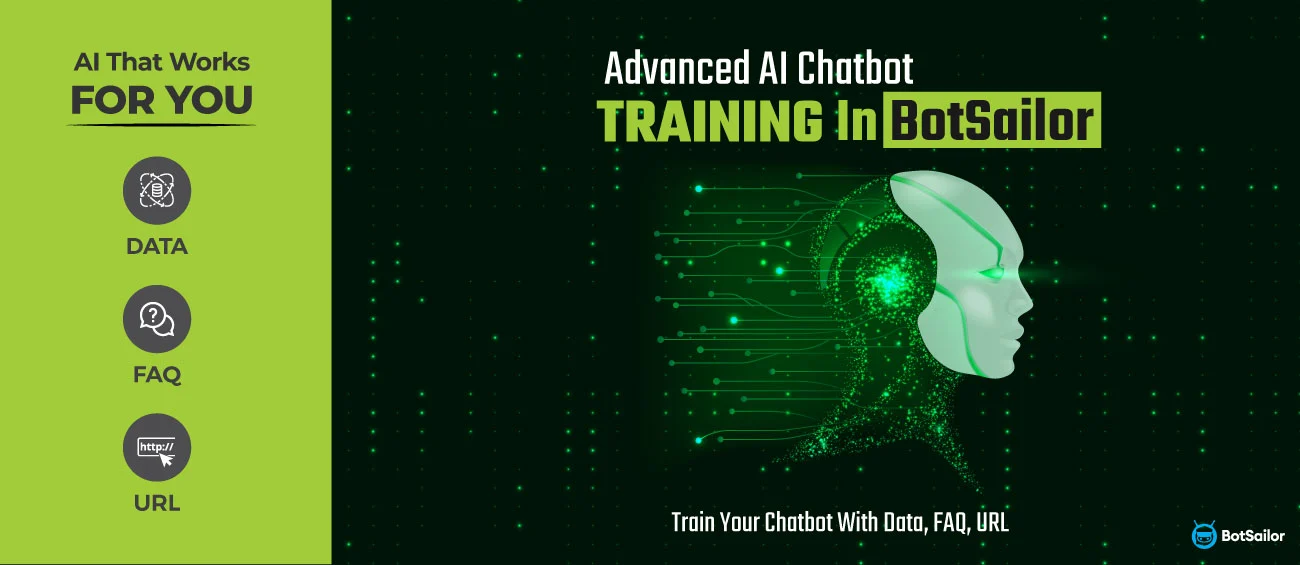

AI Chatbots for customer support have become pivotal tools in today's digital world and e-commerce scenario. For the first time in the market, BotSailor, a social media chatbot software for automation, customer support, and marketing, brings you the future of AI chatbots. In this discussion, we will show you how to make one intelligent chatbot for your business that totally works for you.
How does this advanced AI Chatbot work? This AI chatbot can be trained with Data, Manual FAQs, URLs, and files. It gives the most customized and specific answers by fetching data either from the URL you provided, the document submitted as a file, or simply from the manual FAQs. Now, let's discuss the processes to demonstrate how you can create this more intelligent and more efficient chatbot for yourself.
AI Chatbot Training With data- A detailed demonstration:
Let's head over to BotSailor's dashboard and scroll down. In the left corner, you will find the settings option. Click settings.
Afterward, the 'AI Training Campaign' can be found in the settings menu. When you click it, the page for the AI Training campaign will open.
From here, you can create a new campaign, & edit the previous Campaign from the Action Menu. Let's make a new AI training campaign.
Setting Up the Primary Prompt for the Chatbot
Well, here, you will have two options, one for 'Campaign Name' & another for 'Prompt Message'. There is already a default Prompt message for the bot. It's an initial instruction to the bot to help it understand its role. You can tone it according to your needs & ideas & according to this prompt, the chatbot will know its functions. After naming the campaign, I will update the default prompt and give more precise instructions, such as,
'Your responsibility is to support our customers as an agent or representative for our company. Always represent yourself as "we" or "our company" when discussing features, services, or policies. Your role is to assist customers with accurate and helpful information about our offerings. When addressing customer inquiries about prices, provide clear and concise information, including any available discounts, packages, or subscription options. Keep your responses professional, friendly, and informative & ensure that the customer understands how our products and services can best serve them.’
Let’s Train the Chatbot With Manual FAQ
After the Campaign is created, let's modify it by clicking the Plus button.
Here, this page will open, where you will find a box to input FAQs as needed manually.
Now I will add a few FAQs here, one by one, & Click 'Save'.
That's all, the FAQs will be added & the chatbot will generate answers accordingly.
Training Chatbot With URL
Let's insert a URL into the chatbot setting to fetch data! Switch to the URL in the right corner and click 'New.'
Following that, this page will open, where you must add the Campaign URL- from where the bot will fetch data; in the 'Fetch Content Configuration' section, you must select a 'Selector,' which can be either 'ID' or 'Class.' Well, this depends on the website's design. Some elements on the page are defined by an ID (unique to that element), while others are defined by a Class (which can apply to multiple elements). The choice of Selector will depend on the website's structure and which one best targets the specific content you wish to fetch.
You can also Remove Content Configuration by ID or class to specify areas to exclude if the webpage contains unnecessary details, such as ads, navigation bars, or footers, irrelevant to the content you want to fetch. Removing these sections ensures that only the necessary content is included in the fetch process.
Let's add a URL & complete the process. Here, I will add BotSailor's landing page link & provide the ID or class so that the chatbot fetches data from there.I specifically selected the part where BotSailor's Integrations are mentioned, and after inspecting, I can see it's under the 'Class' section.
From here, I copied the selector name, 'Container.'
Now, I will apply the input in the Selector and selector name section. The Selector is 'Class,' and the selector name is 'Container.'
Since I only selected one part of the page to fetch data, I do not need to remove any content configuration.
I will add another URL from the 'BotSailor's Webhook Workflow' part in the same way, so if customers ask questions about these features, the chatbot can fetch data from these sections and answer them.
After adding the Class & Selector Name, click 'Generate FAQ.'
Once done, it will generate an FAQ based on the URL information. Just click the 'Save' button & you are good to go. That’s all about the URL input, you can either specific ID or Class or the entire page & in that case remove unnecessary content by removing content configuration in the same way.
Training the chatbot with File
Now, let's provide a file to the chatbot. Switch to File settings, click 'New', and upload a file from the right corner, as shown in the attached image-
After submitting the file, the bot will generate several FAQs just by clicking 'Generate FAQ'; button. Click save to continue!
These FAQs will be used by the chatbot to provide accurate and relevant responses based on the content of the uploaded file or document.
Setting Up the No Match Reply & Configuration Settings
Now, I have completed training the chatbot with necessary URLs, files, & Manual FAQs as needed. Let's configure the No Match Reply, where the bot will reply to any customer query according to the training data upon no match!
Go to Bot Manager, then 'Action Buttons,' & click 'No Match.'
It will redirect you to the visual drag-and-drop flow builder. Double click ‘AI Reply’. In the 'Open AI training campaign' section, select and save the trained bot.
In the next step, scroll down in the Bot Manager & click 'Configuration.'
Enable the 'No Match Reply' & save settings. No match reply setting with AI Campign is a best option to make your AI chatbot active all time.
Let's test the bot now from an user end!
Cleary, the chatbot is replying perfectly. Your chatbot is fully trained and configured. Now this bot can respond to your customer inquiries using the trained data from manual FAQs, URLs and uploaded files. When "No Match Reply" is enabled, the bot can provide helpful answers, which will ensure smooth customer support.
As can be observed, shown in the tutorial above, by empowering a chatbot with BotSailor, it created a smart, efficient and user-friendly chatbot which can handle customer queries, can provide accurate information within the data provided, and the bot can represent your business in a professional manner. Start taking advantage of this AI-powered chatbot suite to customize your business's portfolio and customer support. You can start using this chatbot suite today!
Related Articles
Stay ahead of the curve with BotSailor`s latest articles. Dive into expert analyses, industry trends, and actionable tips to optimize your experience. Explore our articles now and unlock the full potential of your business.
How to set up the WhatsApp Cloud API with BotSailor
BotSailor is a complete WhatsApp marketing automation; it has chatbot, live chat, broadcasting, Shopify & WooCommerc...
READ MORESend WooCommerce Order Notifications to WhatsApp by BotSailor Webhook Workflow
You can send Woocommerce Order Notifications to customers via WhatsApp by BotSailor in a very easy and straightforward w...
READ MOREBotSailor’s Affiliate Program
We're delighted to announce the opening of the BotSailor Affiliate Program today! We developed it as a way to thank the ...
READ MORE


(0) Comments