Set up a welcome message that greets users when they first interact with your WhatsApp chatbot.
Add an icebreaker message or buttons to prompt the first action and reduce drop-offs.
Define command triggers (like menu commands) to let users navigate features easily.
Configure the location button so users can share their location for personalized responses or service requests.
Isn’t it awesome if we could send an automatic welcome message to our WhatsApp subscriber as soon as they enter the chat window or have some prebuilt questions for them to just click on icebreaker and some command bot for our WhatsApp chatbot?
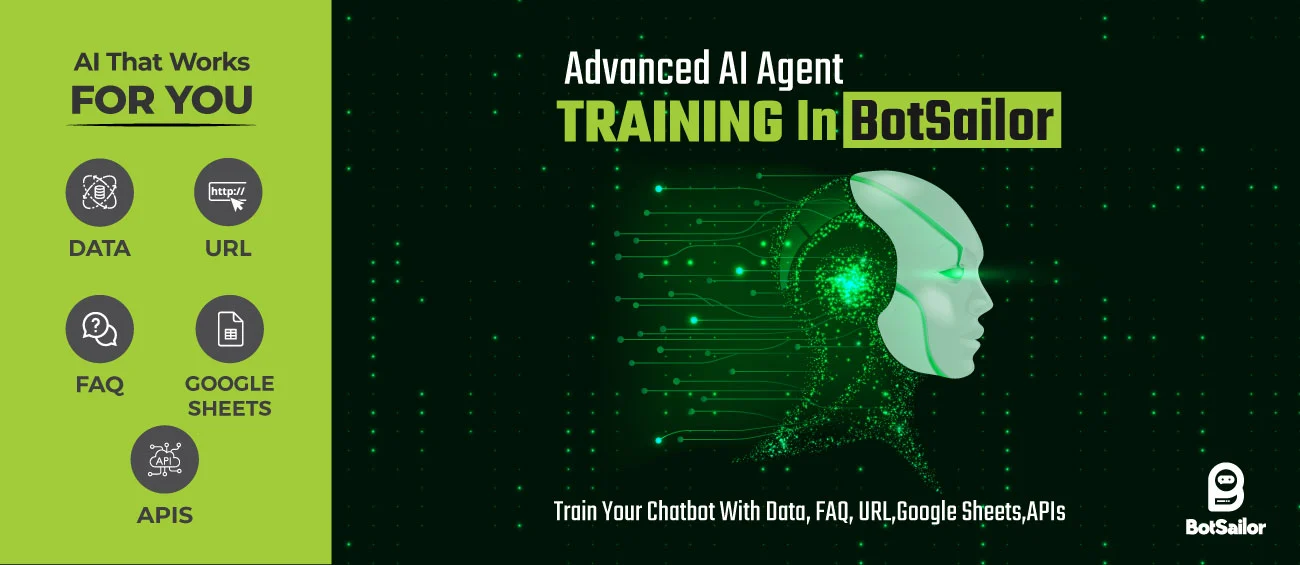
BotSailor has brought these new features to the WhatsApp chatbot: A welcome message, an Icebreaker, and commands A welcome message is delivered to subscribers as soon as they enter the chat window. Icebreaker helps subscribers easily start a conversation with the chatbot. And a command helps to do a particular task on the chat.
In this blog, we will see how to set up and use them on the WhatsApp chatbot. First, let’s see how to create a Welcome message.
Welcome Message:
We need to follow a few steps to create and set up the Welcome message for the WhatsApp chatbot.
Step1:
- Go to WhatsApp “Bot Manager” from the BotSailor’s dashboard.
- Scroll down and click on the “Actions Button.”
- Edit the “Get Started” to match your requirements. By default, there is a text message. You can edit the text and add more components to the bot reply, just like we create chatbots.
Step2: (Turn on the Welcome message)
After creating the Get Started message from BotSailor, we need to turn it on using the WhatsApp cloud API. To go to the WhatsApp cloud API and turn it on, follow the instructions given below.
- From BotSailor’s Dashboard, go to “Connect Account” and then click on the 'Manage' button of the connected bot on BotSailor. Alternatively, simply click on the provided link to access the phone number settings page of the WhatsApp Cloud API.WhatsApp Manager Phone numbers
- Click on the settings button.
- Then select “Automation” and click on the “Turn on” button of the Welcome messages.


That’s all. Now, whenever a subscriber enters the WhatsApp chatbot, this Welcome message will be sent automatically. A fully functional chatbot can be implemented for the Welcome message.
Icebreakers:
Icebreaker needs to be created first from the WhatsApp Cloud API, and then we need to create bot replies from BotSailor for that Icebreaker. We can have multiple questions in the Icebreaker; each icebreaker item will require a different bot with the keyword used as an icebreaker question.
Let’s see how to create icebreakers.
Step1:
From the WhatsApp cloud API, go to the Icebreaker options and click the “Edit” button. Then add Icebreaker questions and save it. We can have multiple questions on the Icebreaker.


Step2:
Now, we need to create bots using the Icebreaker questions as keyword, so copy the whole questions to use as a keyword. Every question should have a different bot created.
Put the whole question in the bot keyword field as a single keyword and set up replies for the bot. Not only a few replies, but a fully functional chatbot can also be implemented for the Icebreaker questions.

Commands:
The procedure for creating the commands is the same as for Icebreakers. The command just needs a slash at the beginning of the command text. Let’s see how to add some commands.
Step1:
From the WhatsApp cloud API, go to the “Commands” options and click the “Edit” button. On the form field, add a command with a slash. Example: “/generate” then put a command description in the description field. We can add multiple commands here. After adding commands, click on the Save button.

Step2:
Now, we need to create bots using the commands as a keyword. Copy the whole command with slash and use it as keyword for the bot. Just like the way we have shown for Icebreaker questions.

Location Button:
The Location component is used to collect a subscriber’s location. Collecting the location of subscribers is effortless with a location component. Subscribers don’t need to type their location in the chat; they simply need to hit a button, and it's done. The user's location will be sent automatically.
In the bot reply, simply add the Location component and enter some text. This component will be displayed to the subscriber with the text we use and a button labeled “Send Location”. As soon as the subscriber hits the button, the location will be sent to the chatbot.

The location of the subscriber will be stored in the subscriber’s information. We can access the location from both the live chat and the subscriber manager.

BotSailor is constantly adding new features to enhance your Chatbot experience. If you have any ideas or suggestions, please feel free to comment below. Stay tuned for more exciting features. Happy BotSailoring!
Related Articles:
Action Button Settings in BotSailor
Use Dynamic URL in a CTA Button in a Message Template
Watch the Video Tutorial: