How to Use Dynamic Lists in BotSailor
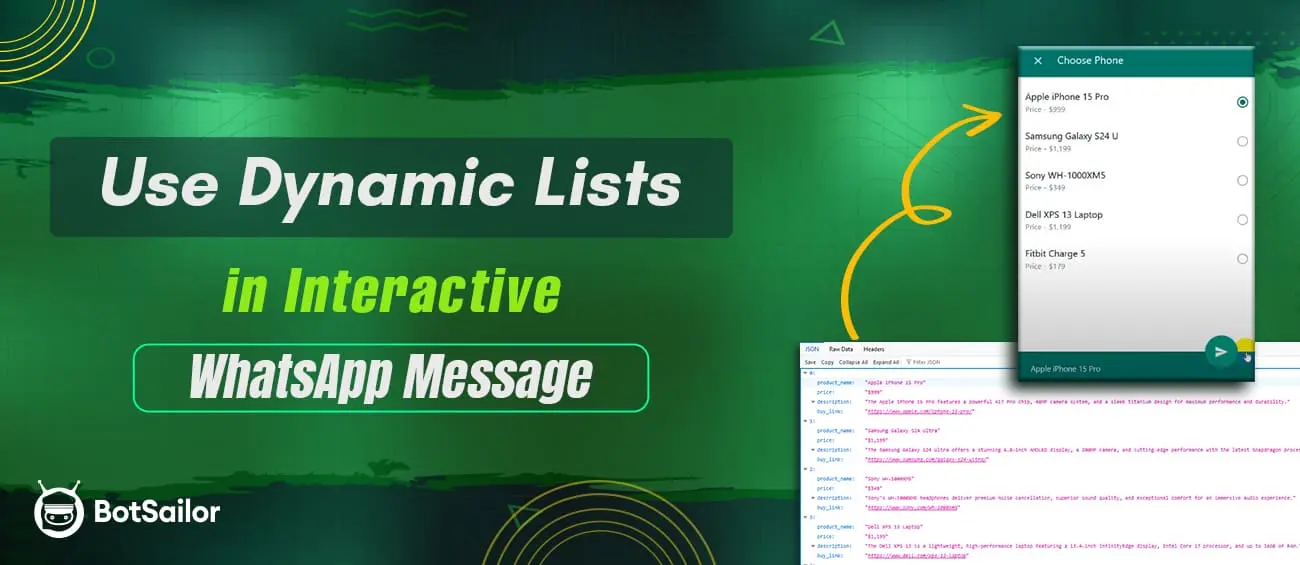
Dynamic lists in BotSailor allow you to createinteractive WhatsApp messagesby dynamically generating rows using data stored in custom fields. These lists are based on JSON objects, where each row’s title, description, and values are populated by specifying the requiredkeys(likeproduct_name,price, etc.).
This guide will walk you through how to configure and use this feature effectively, with an example based on a product catalog.
What Are Dynamic Lists?
Dynamic lists are rows ininteractivemessages that are automatically generated based onJSON objectdata stored in acustom field. By specifying the appropriatekeys, you can dynamically create personalized rows without manually defining each one. JSON object can be saved saved for each subscriber byusing HTTP API call inside bot flow.
Dynamic lists make WhatsApp messages more engaging by automatically fetching and displaying content. For a practical example of how to use dynamic lists with WooCommerce products, check out our guide:HowtoDisplayWooCommerceProductsInsideWhatsApp
Interactive List Message Limitations
When displaying rows inside WhatsApp usingInteractive List Messages, there is a limitation imposed by WhatsApp:only 10 products can be included in a single interactive message.
If you want to display more than 10 row, you will need to send multiple interactive messages. For example, the first interactive message can showcase 10 rows, and subsequent messages can contain additional rows.
Example Use Case:
Suppose you want to send a product catalog to a user. Your data (API response) might look like this:
[
  {
    "product_name": "Apple iPhone 15 Pro",
    "price": "$999",
    "description": "The Apple iPhone 15 Pro features a powerful A17 Pro chip, 48MP camera system, and a sleek titanium design for maximum performance and durability.",
    "buy_link": "https://www.apple.com/iphone-15-pro/"
  },
  {
    "product_name": "Samsung Galaxy S24 Ultra",
    "price": "$1,199",
    "description": "The Samsung Galaxy S24 Ultra offers a stunning 6.8-inch AMOLED display, a 200MP camera, and cutting-edge performance with the latest Snapdragon processor.",
    "buy_link": "https://www.samsung.com/galaxy-s24-ultra/"
  }
]
Using this feature, each product dynamically generates a row with its respective title, description, and action buttons.
Step-by-Step Guide
Step 1:Fetch Data Using HTTP API
- Set Up the API Request:
- Navigate toHTTP API Integrationin BotSailor.
- Configure the API to fetch your data (e.g., product catalog).
Example API Response:
[
  {
    "product_name": "Apple iPhone 15 Pro",
    "price": "$999",
    "description": "The Apple iPhone 15 Pro features a powerful A17 Pro chip, 48MP camera system, and a sleek titanium design for maximum performance and durability.",
    "buy_link": "https://www.apple.com/iphone-15-pro/"
  },
  {
    "product_name": "Samsung Galaxy S24 Ultra",
    "price": "$1,199",
    "description": "The Samsung Galaxy S24 Ultra offers a stunning 6.8-inch AMOLED display, a 200MP camera, and cutting-edge performance with the latest Snapdragon processor.",
    "buy_link": "https://www.samsung.com/galaxy-s24-ultra/"
  }
]
- Save API Response to a Custom Field:
- Assign the API response to a custom field.(e.g.,ProductCatalog). And map value will beList Items
- The response must be in JSON format containing an array of objects.
- Assign the API response to a custom field.(e.g.,ProductCatalog). And map value will beList Items
Step 2: Configure Dynamic Rows in the Flow Builder
Once the custom field is populated with the API response, configure the dynamic rows in your interactive message.
- Row Generation Method:ChooseDynamicto enable rows based on the custom field data.
- Custom Field for Dynamic Rows:Select the custom field containing the JSON data (e.g.,ProductCatalog).
- Key/Index for Dynamic Row Title:Specify thekeyfrom the JSON object to be used as the row title.
- Example:Useproduct_nameto dynamically display values like "Apple iPhone 15 Pro" or "Samsung Galaxy S24 Ultra".
- Row Description Format:Define the row description using multiplekeysfrom the JSON object.
- Format:#custom_field->key#
- Example:#ProductCatalog->price# - #ProductCatalog->description#will display:
$999 - The Apple iPhone 15 Pro features a powerful A17 Pro chip, 48MP camera system, and a sleek titanium design for maximum performance and durability. - Save Selection to Custom Field:Choose a custom field where the user’s selection will be stored (e.g.,SelectedProduct).
- Key/Index for Saved Value:Specify thekeyfrom the JSON object whose value should be saved to the custom field.
- Example:Usebuy_linkto save the product’s purchase link (e.g.,https://www.apple.com/iphone-15-pro/).
Step 3: Test Your Dynamic List
- Preview the Message:Open the Flow Builder and preview your dynamic list. Verify that rows are generated correctly based on the API response.
- Simulate User Interaction:Interact with the message as a user and select a row. Confirm that the selected value is saved to the designated custom field.
Different type of JSON Configuration Examples
1. Product Catalog
JSON Example:
[
  {
    "product_name": "Apple iPhone 15 Pro",
    "price": "$999",
    "description": "Powerful A17 Pro chip and 48MP camera.",
    "buy_link": "https://www.apple.com/iphone-15-pro/"
  },
  {
    "product_name": "Samsung Galaxy S24 Ultra",
    "price": "$1,199",
    "description": "6.8-inch AMOLED display and 200MP camera.",
    "buy_link": "https://www.samsung.com/galaxy-s24-ultra/"
  }
]
Dynamic Configuration:
- Row Title (Key):product_name
- Row Description:#ProductCatalog->price# - #ProductCatalog->description#
- Saved Value (Key):buy_link
2. Configuration for Appointment (One-Dimensional Array):Let you have saved the JSON inAppointmentDateListcustom field.
{
    "0": "07-01-2025",
    "1": "08-01-2025",
    "2": "09-01-2025"
}
Dynamic Configuration:
- Row Generation Method: Set toDynamic.
- Custom Field for Dynamic Rows: Use#AppointmentDateList#
- Key/Index for Dynamic Row Title:LeaveBLANK(automatic iteration, blank because it doesn’t have any associative index).
- Row Description Format: Not required, or write it static.
- Save Selection to Custom Field: Map the selection toAppointmentDate#
- Key/Index for Saved Value: Keep itBLANKto save the chosen value in the custom field.
This setup automatically iterates the JSON values to populate the rows dynamically.
Let the JSON format is like array inside another associative array
{
    "success": true,
    "available_dates": {
        "0": "07-01-2025",
        "1": "08-01-2025"
    }
}
Dynamic Configuration:
- Row Generation Method: Set toDynamic.
- Custom Field for Dynamic Rows: Use #AppointmentDateList#.
- Key/Index for Dynamic Row Title: Useavailable_dates.
- Row Description Format: LeaveBLANKor use the static.
- Save Selection: Map the selected value to #AppointmentDate#.
This configuration will fetch dates dynamically from the available_dates key.
Best Practices
- Ensure API Responses Are Well-Formatted:The API response must be a JSON array of objects.
- Use Clear Keys and Descriptions:Keep your keys intuitive and descriptions user-friendly.
- Test Before Deploying:Verify that rows are dynamically generated and selections are saved correctly.
Some Real Life Example :
HowtoDisplayWooCommerceProductsInsideWhatsApp
Conclusion
BotSailor’s dynamic list feature provides a simple yet powerful way to create personalized and interactive WhatsApp messages. By referencing specifickeysfrom JSON objects, you can dynamically populate rows with relevant data like product names, descriptions, and links.
Start using dynamic lists today to elevate your user engagement and provide tailored experiences for your customers!


(0) Comments