Telegram has become more popular in the past few years due to its security and simplicity. It supports all the major operating systems, and it’s very easy to use as a mobile app. Telegram apps can be used simultaneously on various devices. Unlike other messaging platforms, it has no major limitations for using it as a marketing tool.
In Telegram, we can create groups and channels to interact with customers, but the most important thing we need for marketing is a Telegram bot. You can call this bot a business account on Telegram. The Telegram bot account can automatically reply to the users depending on the keywords they use in their messages. We just need to create keyword-based bot replies. Not only can we create a keyword-based bot, but we can also create a no-match chatbot. A no-match bot will reply to any message that doesn't have any specific keyword to match the keyword-based bot. So, each and every customer inquiry can be replied to.
Additionally, we can use AI replies for the bot. BotSailor's AI reply utilizes the OpenAI API to provide artificially intelligent replies to the subscribers' queries. By using BotSailor, you can create a Telegram AI bot for your business to save time.
Although users of Telegram create their accounts with a phone number, we can't simply import contacts to broadcast messages to users. This is the only limitation we have for a Telegram business or a bot account. Users need to send a message first, and then they will become subscribers.
To gain Telegram subscribers for the Telegram bot, we can create a chat widget and a short link on BotSailor and share the chat widget (JavaScript embed code) on websites to grow our subscribers' list. Let's see how to do that on BotSailor.
Step 1:
From the left navigation menu of BotSailor’s dashboard, go to Chatbot Managerthen you will find TelegramBot and select the bot account for which you want to create the short link. Then select the Chat Widget, and then click on the Create button.

Step 2:
You'll be sent to the visual flow builder as soon as you click the Create button. We'll start with the choices for configuring the Actions button (Widget and shortlink). By default, the action button type is set to short link. We may modify the color of the chatbox header, the chatbox's location, and the X and Y axis offset values. Then there's the wait for the chatbox to appear once the site pages have loaded. Then there's the button text (by default, it's Send Message), which we can edit to anything we want. We may also modify the colors of a button's background, text, button hoover background, and text hoover color. We can select any button size from 4 types of buttons. Then we need to give a reference for this short-link, and it’s mandatory. We can also select labels for this short-link so that we can separate the subscribers that we gain from this ChatWidger or short-link. Finally, click on the Ok button to save the configuration.

Step 3:
Then we need to give a name to this chat widget, or short-link bot. Double-click on the “Start Bot Flow”element to give a name for the Chat widget or short-link bot. We can also choose a label and set a sequence message here on the “Start Bot Flow.”

Step 4:
Now, let’s add a reply to this Chat Widget or short-link bot. We can add text, images, audio, video, and files. For instance, let’s add a text reply. We can also add buttons with the text reply. To add buttons with the text element, just drag a connector from the socket and leave the cursor. We can keep this as a simple bot, or we can create a full bot as big as we want.

To configure the buttons, double click on them. Here, I am keeping the button type as a send message. After that, just add message elements to the button.

Finally, save the bot, and let’s get back to the dashboard. We will find the Chat Widget or short link, and the JavaScript embed code there.

Step 5:
Here we can see the short-link we have just created. Click on the “Get Embed Code” button under the Actions menu to get the link, javascript embed code, and a QR code to share on websites, emails, and social media.


Step 6:
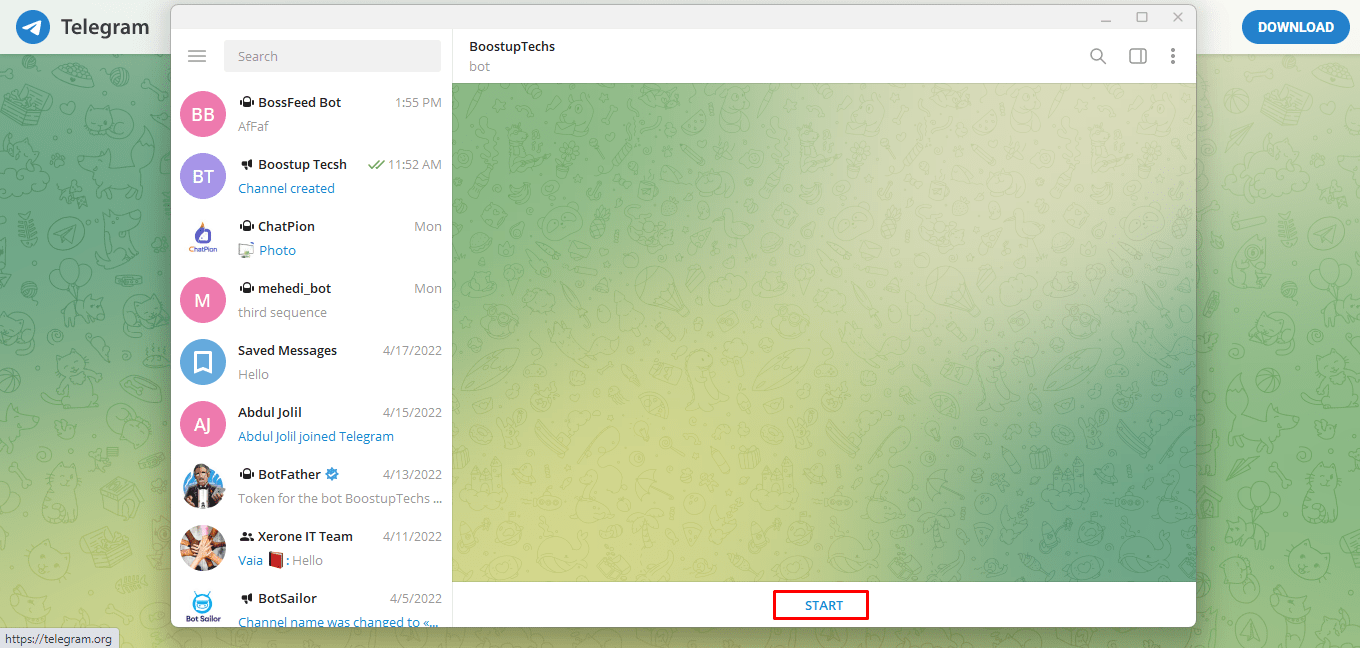
Now, if we add this code to our site, we will see a chatbox widget like this one.

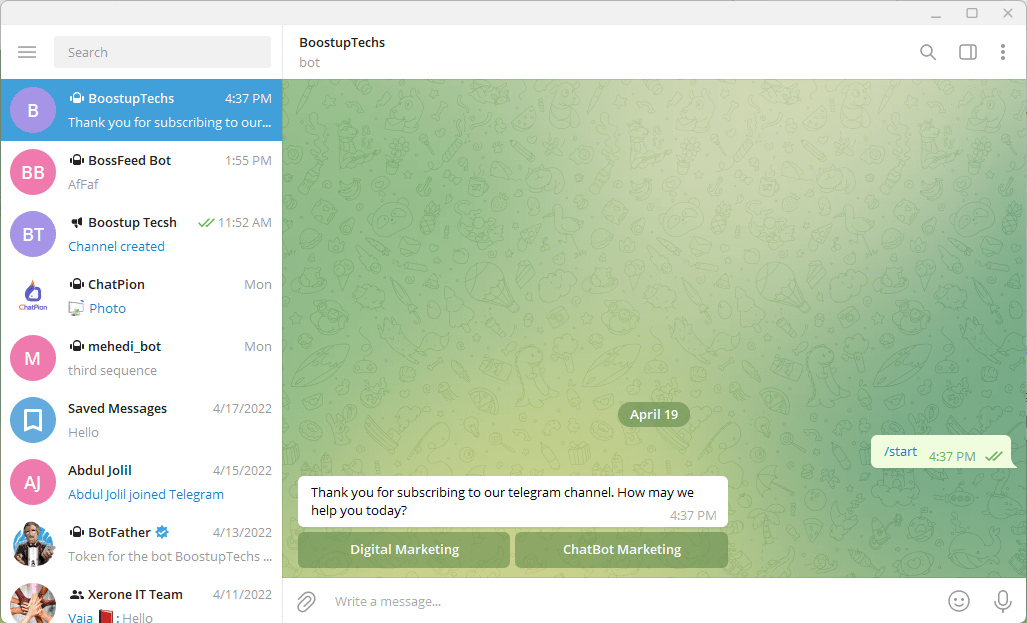
When the users click on the widget, they will be redirected to the Telegram chatbot. And when the user clicks on the Start button, they will become subscribers to your Telegram bot.
Also, they will receive the bot reply that we set up while creating the chatwidget bot.
The subscriber will be added to the subscribers' list. To see the subscriber list, just go to the Subscriber Manager from the left navigation menu of the BotSailors dashboard.

Explore Knowledgebase:
Learn About Telegram Group Manager
Read More About Telegram Broadcasting
Everything You Need to Know about Widgets
Related Articles:
How to Create and Add Live Chat Widget to Your Website
How to Create and Embed WhatsApp Chat Widget
How to Manage and Update Your Website Chat Widget
You can also watch a video on how to gain subscribers by using a Telegram ChatWidget or shortlink.