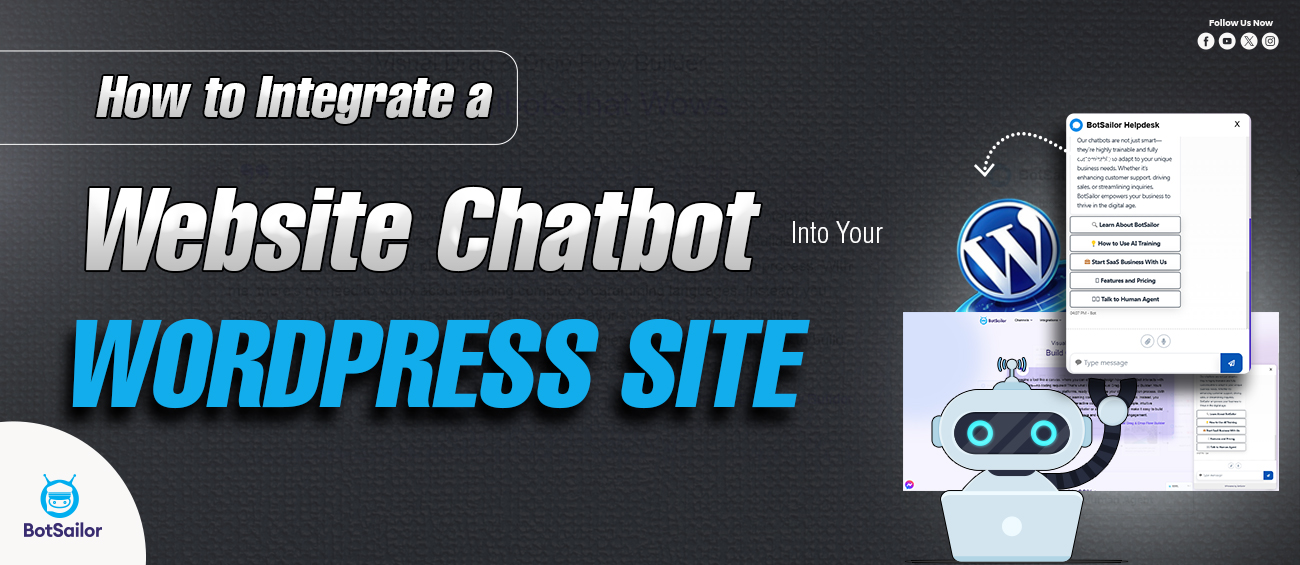
How to Integrate a Website Chatbot Into Your WordPress Site
What is Native Website Chatbot?
Native website chatbots are automated conversational agents that are integrated into the website to allow users to communicate with them without leaving the site or using any other external applications. Such chatbots can assist in real time, answer questions, guide users through processes, and ultimately enhance the user experience, right from one's website.
BotSailor introduced itsNative Website Chatbotfor websitefeature recently. This is the most awaited feature with which you can add a chat widget to your website landing page and attend those customers from BotSailor Webchat’s Live Chat Option. This is a free chatbot for website that you can integrate by following a few steps. We will be going through each step on how to connectBotSailor WebChatto your Website.
Step One (Connect Your Website):
First of all, navigate to the Webchat’sConnect Websiteoption from BotSailor dashboard and click onConnect Websiteas you can see on the screenshot. It will take you to the webchat configuration menu.
Now, provide a suitable title for your chat box and copy your website URL and paste it. Let's configure theTheme Background, Theme Color.We have selected a theme color as you can see #06efa9. Next,we have selected a suitable blue color for theChat Bubble Background andYou can also configure theChat Bubble Colorif you want. Then, you can select aBrand Logothat will be shown in the chatbox as well theChatbox Wallpaper.
Up next, you have the privilege to manage the chatbox position and configure whether it will stay opened or closed on startup. We have selectedBottom-LeftandStay Closed.
Scroll down to you would like to fixX-AxisandY-Axispositions for the chatbox on your landing page. Drag right theLoading Chatbox Aftersection if you would like to have any time delay.0 Secondis selected as default. There is a drop down box if you would like to auto-delete your subscriber records. You can select weekly, bi-weekly, monthly, quarterly and half-yearly. As default we have kept Never to delete these.Now click onConnect. Wait for a while and your website should be connected successfully.
Step Two (Copy the JS Embed Code):
Now, click onEmbed Codewhere you will find a dialogue box like above and copy the code from the top right corner.
**Here, we have used Webchat on a WordPress website but you can do it for Custom built and other platforms as well.
Step Three (Paste JS Embed Code to your Website):

Login to your Wordpress website and go to the dashboard.Click on theHomepageand selectVisit Site.
Now click on theHomeicon to set up the bot on the homepage. Then, clickEdit with Elementor.
**Please be noted that we have selected the Home Page only and our chat widget will be visible only for this page. If you want it to be shown on the other pages; follow the same procedure.
**N.B: As Most of the Wordpress Websites use Elementor plugin as page builder, we have used this. For other page builders the process will be almost similar.
Search forCodefrom the left side in theWidgetssection. Select theShortcodewidget; drag and drop inside any container in the page.
Now paste the embed code on theshort codesection from the left side. You can see the web chat box will appear. Publish the page to make it live.
Step Four (Check How it’s Work):
Webchat has been successfully added to our website. Click on the chat box. Type a keyword that we have set for a bot tobe triggered. Now let’s go back to Botsailor’s Web ChatLive ChatOption.
Here, you can see we have got the message that has been sent earlier. Users will be identified by their designated IP addresses. Thus, we have successfully integrated BotSailor’sWebChatFeature to our native website. You can easily integrate this feature by following these simple and easy steps.
Website Chatbot Use Cases:
E-Commerce:Chatbot for ecommerce sites are there to assist customers with product searching, order tracking and checkout process. E-Commerce sites can integrate this feature which will interact with customers and boost up their sales eventually.
Hospital and Clinic:We often visit different medical websites where we can book an appointment using the chatbot. It’s feasible because it can handle a lot of customers simultaneously.
Travel and Hospitality:People tend to face problems booking desired travel tickets and hotels. For such reasons travel agencies and hotels can use this type of chatbots on their websites where customers can easily book their desired travel plans according to availability.
Benefits of Native Website Chatbot:
Real-Time Interaction:Users can interact with the chatbot with just a click, receiving instant responses of their queries.
24/7 Availability:This is really hard to avail human support 24/7. But this chatbot can operate all day long providing customer support.
Multifunctionality:Chatbots on a website can handle enormous tasks at once like answering FAQs, appointments booking, order processing and so on.
Cost Effective:Chatbots are very efficient contrary to humans as you have to pay them on a regular basis. On the other hand, support quality may vary from time to time. But in the case of chatbots, they provide quality support with minimal cost.
Data Collection:Chatbots can accumulate user data and save it to its database for further usage.
Feedback Collection:At the end of the conversation; chatbot asks customers to provide feedback regarding the support so that admins can make necessary changes according to that.
Chatbot on website is a cutting edge feature which helps users to interact with their customers seamlessly and improve customer experience. Users can now incorporate AI chatbot for websites to reach more closely to customers and provide their services with the BotSailor’s Native Website Chatbot Integration. This is undoubtedly the best custom chatbot for websites which provides value for money.
Read Knowledgebase of Website Chat Widget
Explore Knowledgebase of WhatsApp & Telegram Chat Widget
Learn More About Facebook Engagement Widget
Visit Wordpress Integration Knowledgebase
Download Woocommerce Abandoned Cart Plugin
Watch our video onHow to Connect BotSailor's Website Chatbot With Your Existing Website
Related Articles:
How to Create and Add Live Chat Widget to Your Website
How to Create and Embed WhatsApp Chat Widget
Boost Engagement with Telegram Chat Widget via BotSailor
FAQs
Q: How does a chatbot work on a website?
Ans:Chatbot on websites work with Natural Language Processing and machine learning algorithms to process user queries and come up with relevant responses. They may be pre programmed or learn from experience.
Q: What are the benefits of using a chatbot on my website?
Ans:It can operate 24/7, respond instantly to inquiries, reduce the workload of human agents, increase user engagement, and help in gathering very important data about users. It can handle multiple customers at a time without any margin of error.
Q: Can this chatbot handle complex queries?
Ans:It depends on how the chatbot is configured by the admin team. Admin team can design this chatbot to handle complex queries. However, more complex issues need human intervention. Most chatbots are designed in a way that they will know when to transfer the customer to a human agent.
Q: How will this chatbot work?
Ans:This will work with just a click from the customer and show some basic FAQ’s. If they click on the FAQ’s, it will give predetermined answers set by the admin. If they go for other queries; it can give replies based on AI or no match reply.
Q: What can a website chatbot do?
Ans:The tasks a chatbot can perform are various: answering FAQs, recommendations of certain products, bookings, orders, gathering feedback, and so on.
Q: Can I customize the responses of the chatbot?
Ans:Yes, most chatbot platforms support full response customization along with personality and behavior according to one's brand voice and specific need required by an end user.
Q: How Can I measure how well my website Chatbot is working?
Ans:You could evaluate effectiveness on the bases of user interaction rate, response time, customer satisfaction scores, conversation rates, and number of queries handled with no human intervention.
Q: Is this chatbot secure?
Ans:This chatbot feature can be controlled completely from the BotSailor dashboard. You can intervene with its reply whenever you feel it is needed. So, yes it is completely secure.
Q: Can this chatbot be multilingual?
Ans:Yes, unlike most other chat bots BotSailor’s native website chatbot feature supports multilingual.
Q: Is this the best chatbot for my website?
Ans:This chatbot feature is available in the basic package of the Botsailor which is free. What can be better if it is free and provides AI support with the ease of integration! That’s why it is the best AI chatbot for website.
Q: Can chatbots be used for lead generation?
Ans:Yes, this chatbot can entertain website visitors, qualify leads by asking relevant questions, and even capture contact information to be followed up by sales teams.
Q: In which industries can website chatbots be used?
Ans:Practically, any industry that has e-commerce, healthcare, finance, education, travel, real estate, or customer service can use website chatbots.
Q: How to choose a chatbot platform for a website?
Ans:Users should opt for chatbots like BotSailor which is easy to integrate with their websites no matter which platform they are using. They should have in mind how much value for money the chatbot is and how efficiently it replies to customer queries.
Q: How to set up a chatbot window UI on a website?
Ans:You can connect your website followed by copying the JS embed code and paste it to your website file. This is the most common way to connect a chatbot to your website.
Q: Is this free chatbot that I can integrate to my website?
Ans:Yes, this is a free chatbot for websites which can be integrated by following some simple and easy steps. On the basic package, you can integrateBotSailor's WebChat Bot toone website which is absolutely free.


(0) Comments